
Do you have an antique vanity collecting dust because you don’t have the space or know what to do with it? By repurposing, you can have both beauty and function. Here I’ll walk you through the process of how I turned a 100+ year old vanity into some jaw-dropping nightstands!
So come on. What are you waiting for?!
Steps:
- Core Materials Used
- Inspect + Redesign Plan
- Deconstruct
- Repair
- Remove Veneer
- Sand
- Bleach Wood
- Apply Wood Polish & Conditioner
- The Reveal
Core Materials Used
I receive commissions for purchases made through links in this post.
- Sander: Dewalt Palm Sander
- Sandpaper: 60 grit, 100 grit, 150 grit, 220 grit
- Safety Protection: Respirator
- Scraper: Husky Paint Scraper tool
- Iron: Sunbeam Iron
- Polish & Conditioner: Howard’s Feed-n-Wax
- Top Knobs: Vintage Pumpkin Knobs
Inspect + Redesign Plan
I started out by deciding which parts I wanted to keep and which parts I wanted to toss. This being the second vanity I’ve turned into nightstands, I’ve noticed a pattern: the use of nails.
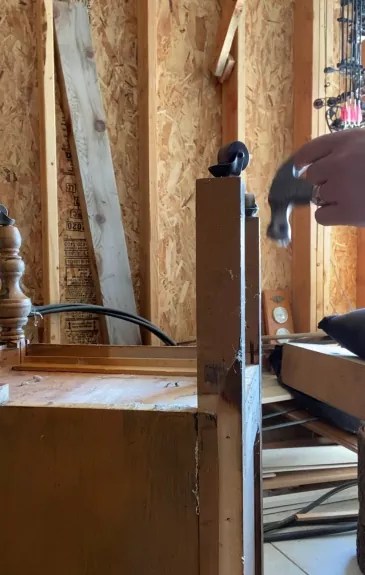
Deconstruct
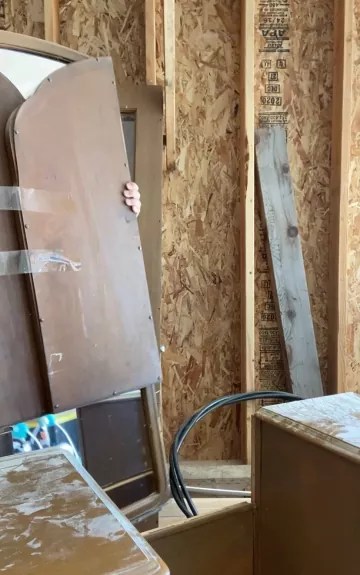
The mirror, along with the middle connecting boards were attached by nails. By using a pry bar I was able to create some wiggle room to pull the nails out with the hammer claw. This allowed me to gently take the mirror off.
After I took the mirror off I set the vanity on its back. Using a hammer, I pounded the connecting boards completely off.
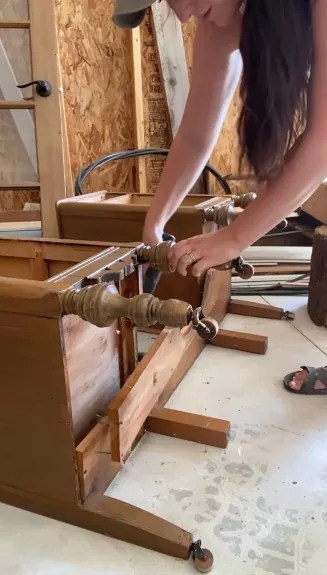
Repair
As you may have noticed in a previous picture, 2 wheels were off the vanity. After I had them separated I reattached the wheels.
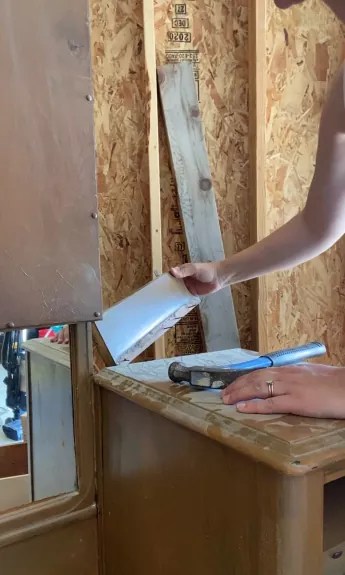
Remove Veneer
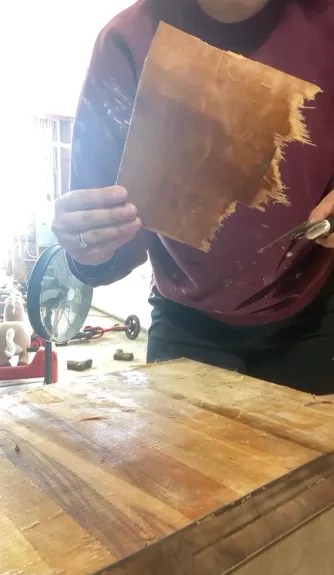
Now, this vanity had been painted in brown paint with a green stain on top. I knew I wanted to show off their natural wood grain so I went into the long process of removing the veneer. (Find my step-by-step guide on an insanely easy way to remove veneer here!)
Sand

After I removed the veneer from the top and drawers, I decided to sand down the veneer on the sides with my sander and handsand the legs with 3m sandpaper.
(The sides were made of thin wood so I decided to sand down the veneer versus pulling it up.)
Bleach Wood

The natural wood was a little too red for my liking. To help tone down the red I made a water + bleach solution and let it sit in the sun to lighten. I sprayed it very lightly.
Tip: Do not let the bleach solution pool or sit on it for too long. This could make your wood spotty or dry.
Apply Wood Polish & Conditioner
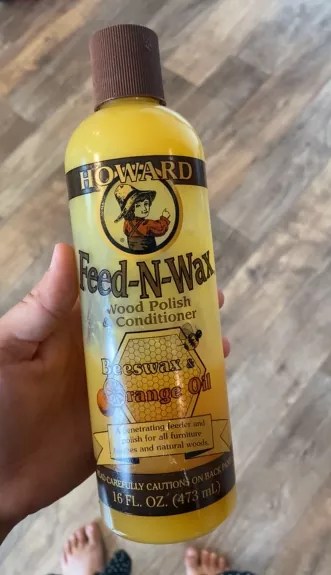
Lastly, I used Howard’s Feed-N-Wax product to polish and condition the wood.
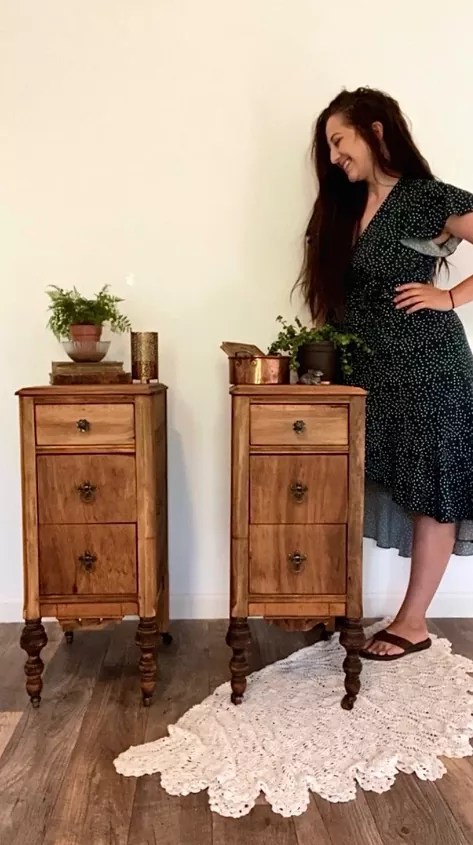
The Reveal
And look at it now! The natural wood grain is SO stunning along with the original hardware and pumpkin knobs.

Leave a comment