
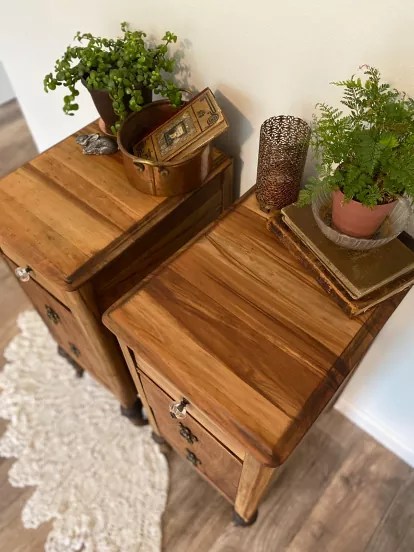
Have you removed veneer before? Yeah, it sucks. If you dry scrape, it can take ages and seem impossible. If you wet scrape, it still is long, hard work. This tip has made removing veneer SO MUCH EASIER.
Here are the steps I took to remove veneer in a breeze.
Core Materials Used
I receive commissions for purchases made through links in this post.
- Sander: Dewalt Palm Sander
- Sandpaper: 150 grit, 220 grit
- Safety Protection: Respirator
- Scraper: Husky Paint Scraper tool
- Iron: Sunbeam Iron
- A Towel (that you’re okay with getting dirty)
- Water
Wet Veneer
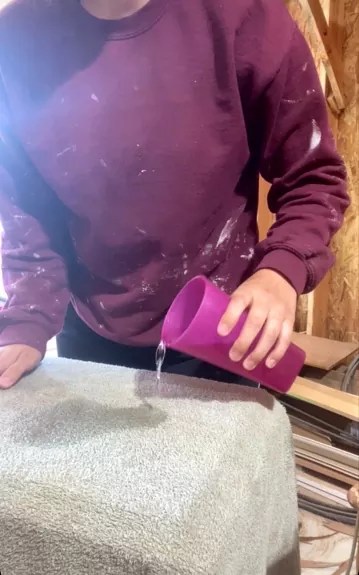
Let a wet towel sit on your piece overnight or for a couple hours (not dripping wet, but enough to absorb into the veneer)
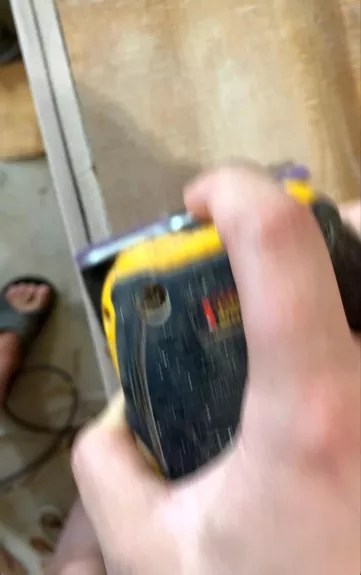
Iron Sections
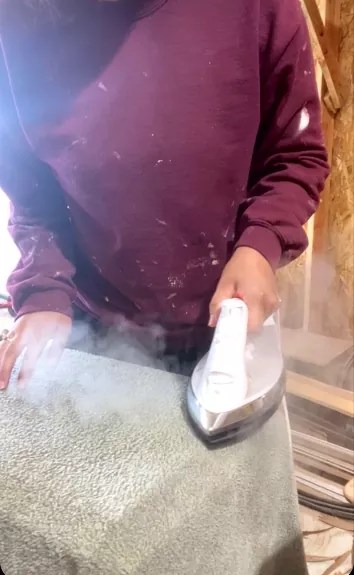
While the towel is still damp, use a craft iron to heat up a section at a time for 20-30 seconds. This will speed up the process of veneer detachment.
Scrape Away
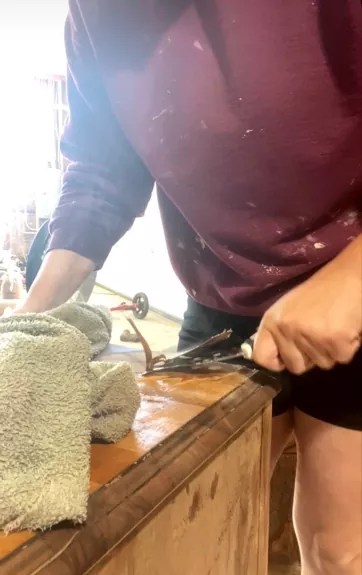
Immediately after, start removing the veneer with your scraper. If the area is tough to pull away still, repeat the water/iron step.
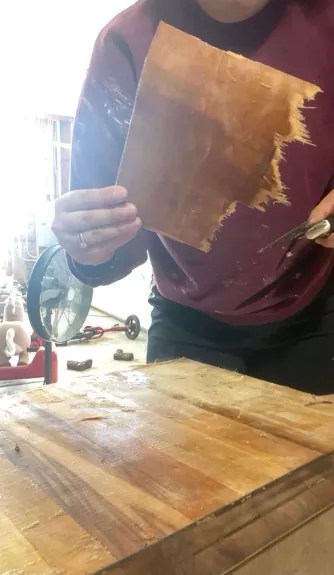
Tip: Make sure to let the wet towel sit for hours. I was impatient and that made it a more difficult job. It should scrape off in big sections without much elbow grease.
Sand
Once completely removed, sand your top down for the final look.
The Reveal
And there you go! Adding the iron step decreased the time and effort I usually take in removing veneer!

Leave a comment