
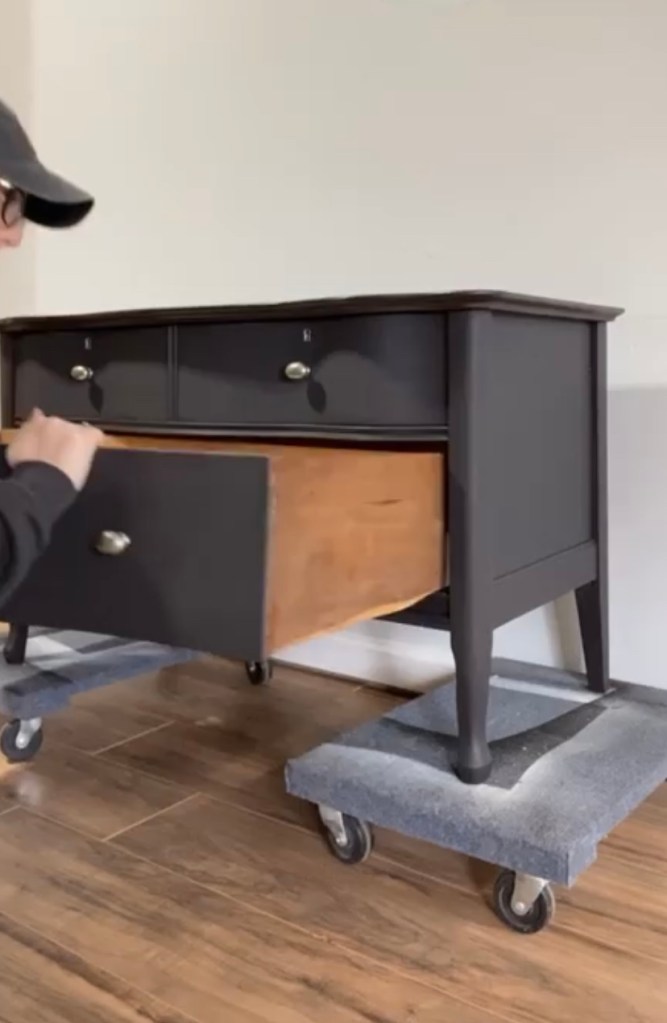
Often times, especially with the older pieces, drawers will have a tough time closing. To help it close correctly and not make more dents, I used this tip!
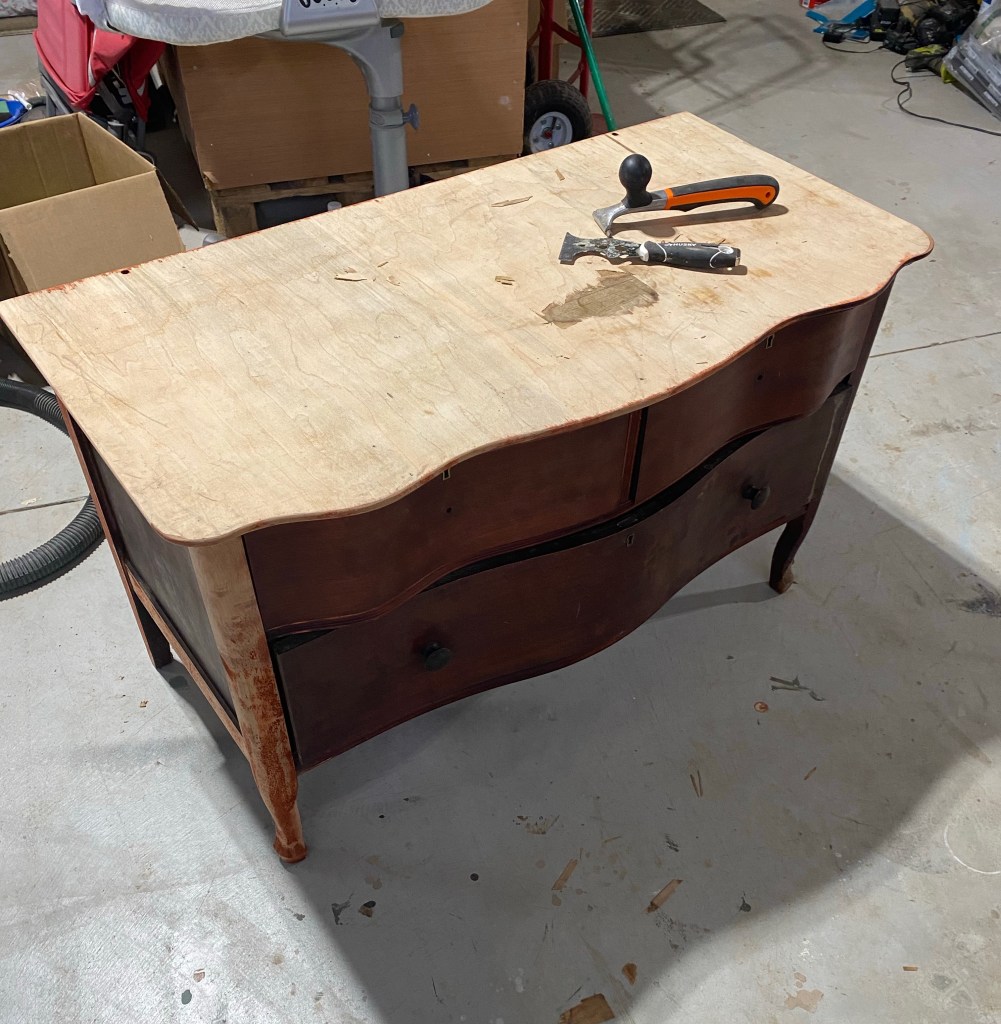
In the past, I would get so frustrated with old, wood furniture. The years of usage added wear and drawers wouldn’t fit like they should! This upholstery nail tip basically added a spacer and helped me correct the sagging and worn drawers.

Steps:
- Core Materials Used
- Find Where it Hits
- Remove the Drawer
- Add the Upholstery Nail
- Hammer into Place
- Insert Drawer
- *Extra Tips*
- The Reveal
Core Materials Used
I receive commissions for purchases made through links in this post.
- Upholstery Nail: Fas-n-Tile Specialty Upholstery Nail, Black (I found mine at Walmart)
- Hammer
Find Where it Hits
Usually, you’ll see rub marks or dents like in my photo.
Remove the Drawer
Mist the powder and entire surface with water. This will make the powder into a pasty mixture.
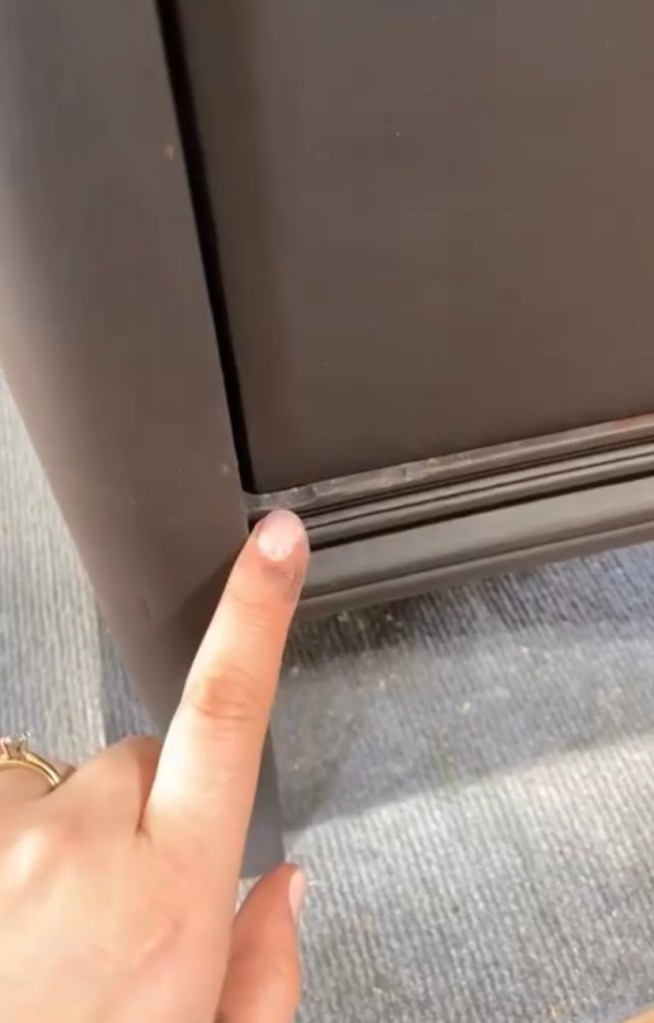
Add the Upholstery Nail
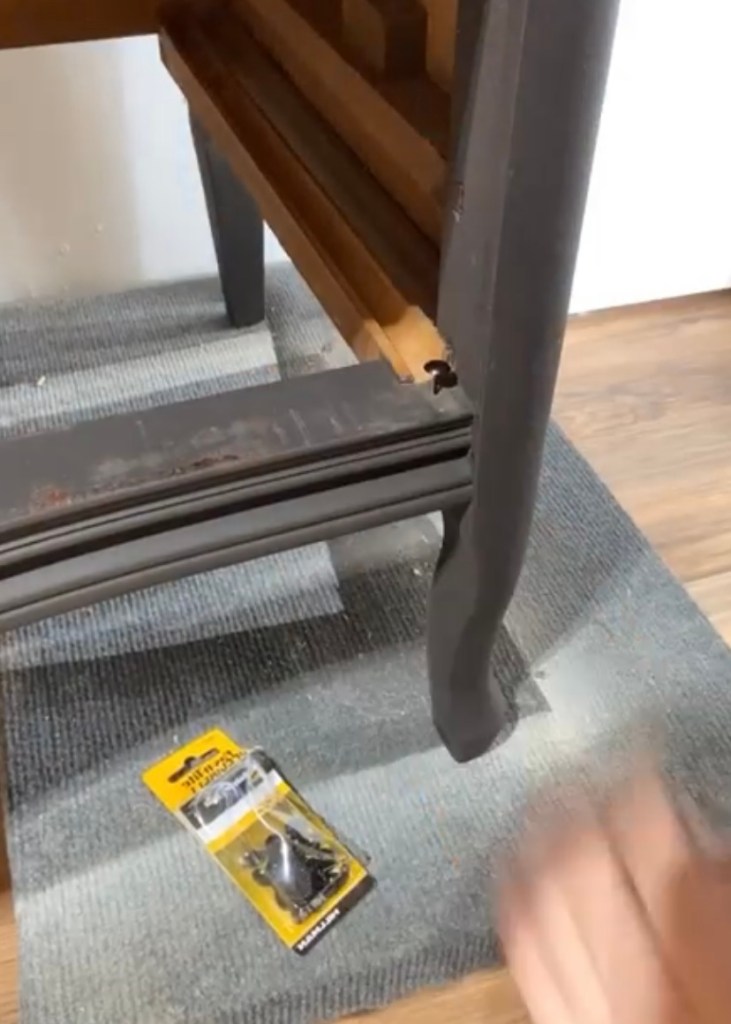
Place the nail directly in front of the drawer slide (you might have to play with the position of it to make sure your drawer shuts all the way back). Push nail till it sticks.
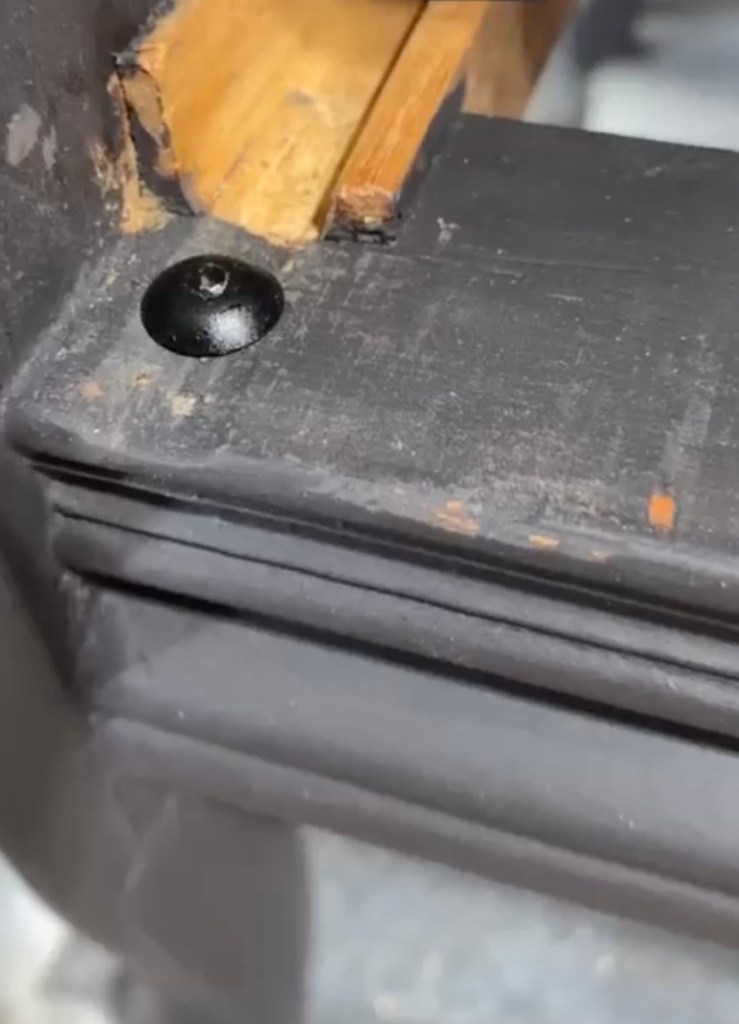
Hammer into Place
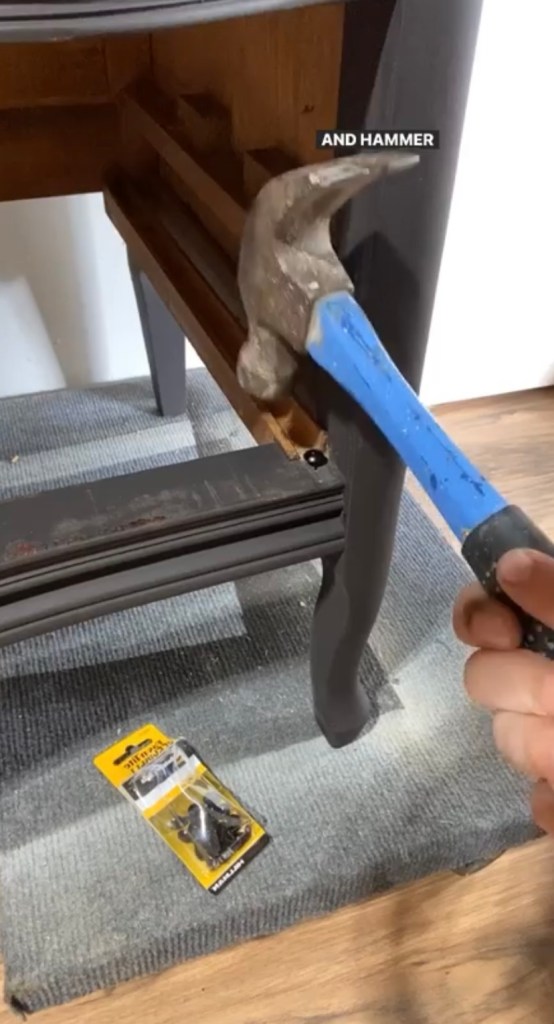
Use a hammer to make the upholstery nail sit flush with the dresser frame.
Insert Drawer
Once the upholstery nail is in the position you need, insert your drawers back in.
*Extra Tips*
Measure the thickness of the drawer face and make sure the upholstery nail head is a least that far back. You want room for the drawer to close into place. If you place it too close to the front, your drawer will stick out.
Use upholstery nails NOT thumb tacks. This is because the upholstery nail is an actual nail and is thicker/stronger than a tack.
If your upholstery nail bends when hammering, predrill the tiniest hole and then hammer in the rest of the way.
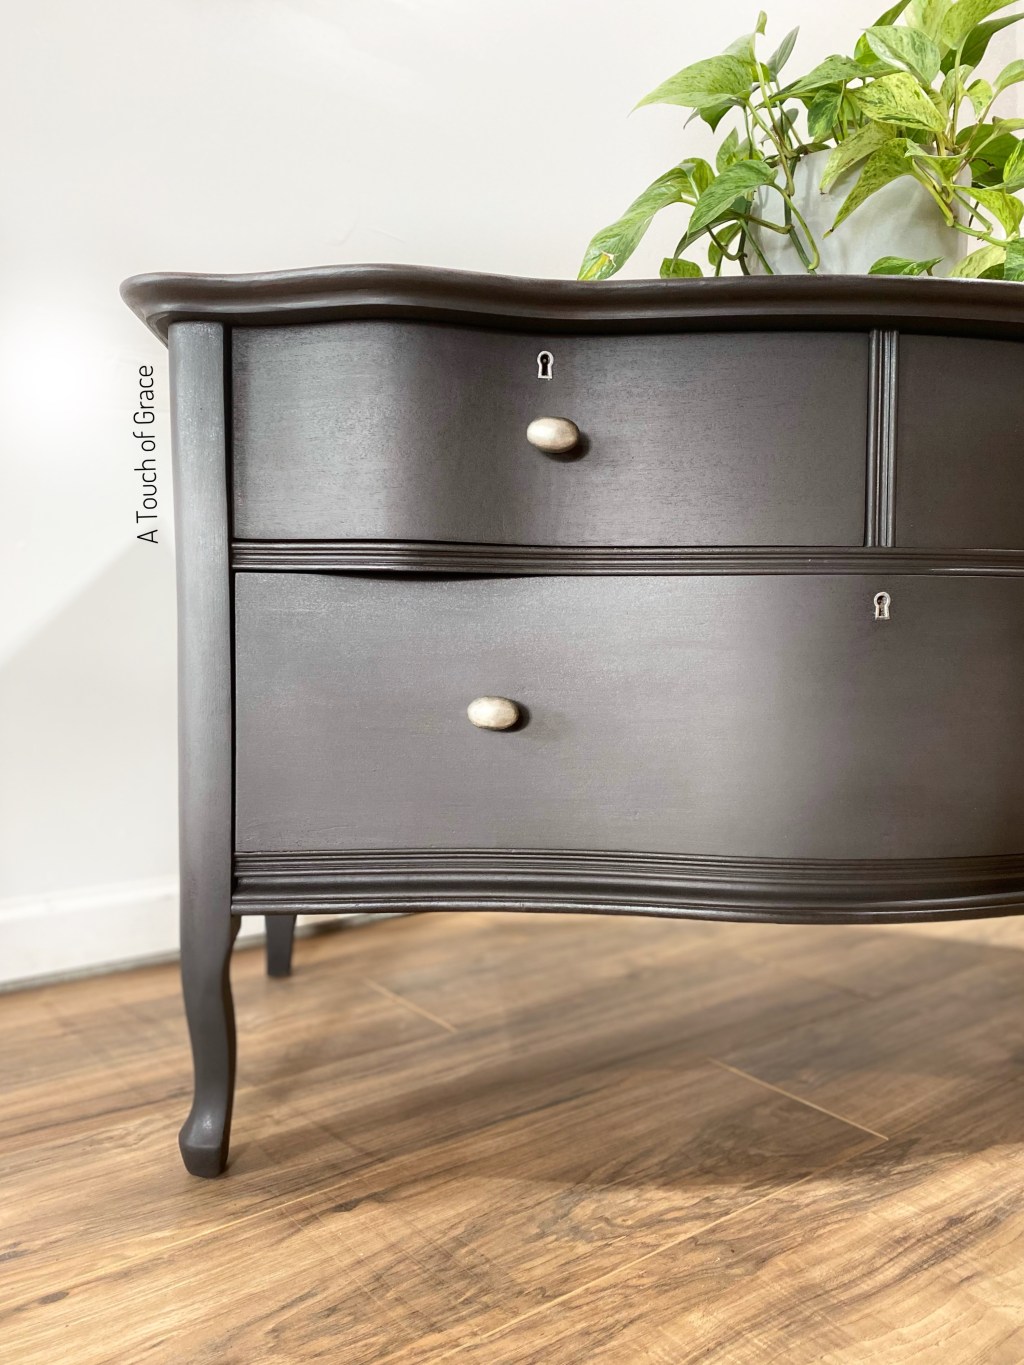
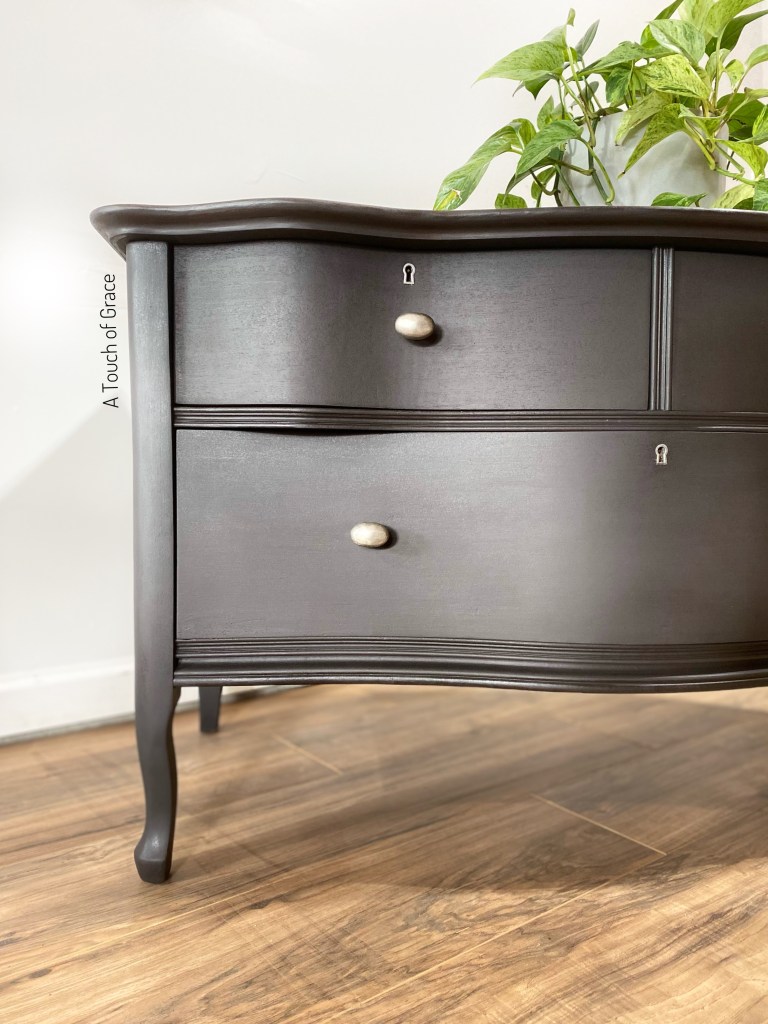
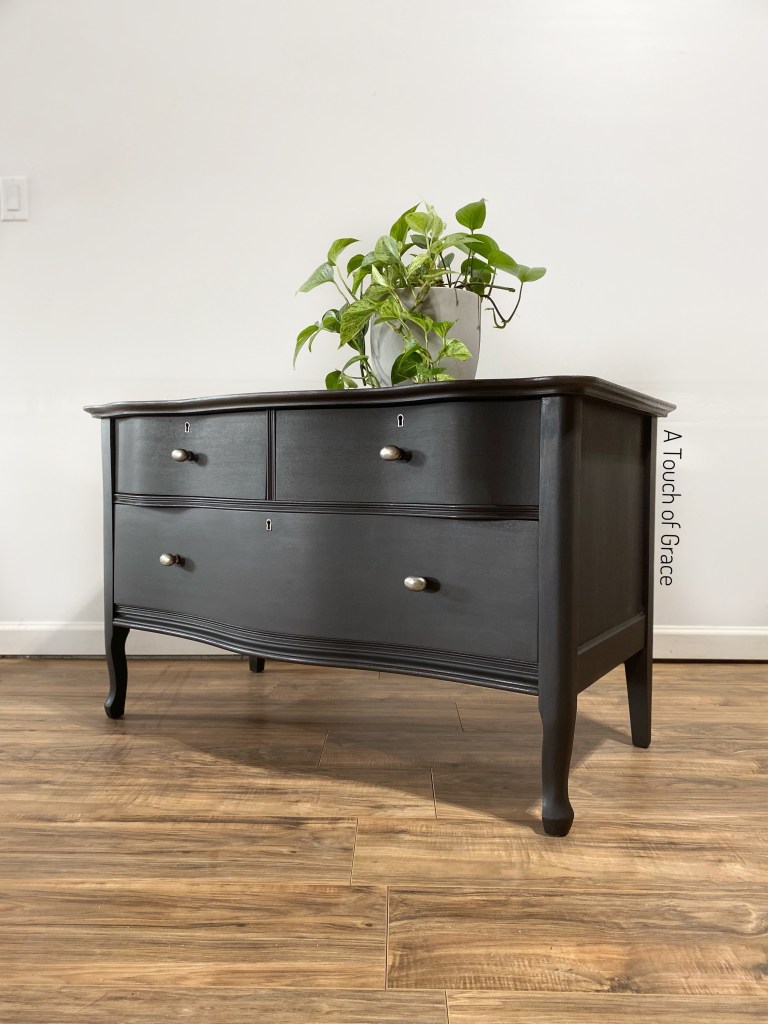
The Reveal
Enjoy smooth closing drawers!

Leave a comment